

The fifth episode of our PCB Journey focuses on one of the most spectacular processes in our web series: drilling! It is not only the most impressive process but also the most irreversible! Indeed, it is important that this step is very carefully implemented because even a small error can lead to a big loss. Discover the different stages of this process (mechanical or laser drilling, minimum diameter or even controls) by following our two ICAPE Group experts in one of our partner factories in China.
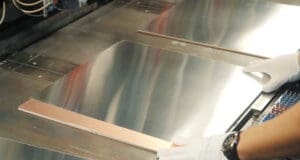
For better accuracy and thermal management, specific materials are used such as Aluminum, Wood or Melamine at the top and the bottom of the stack up.
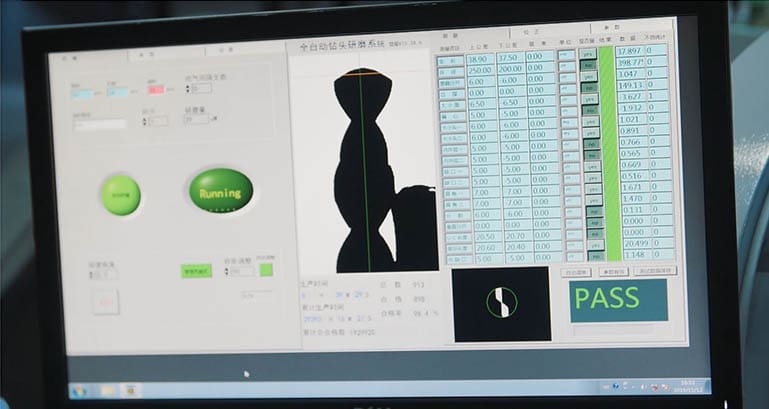
The drill must be perfectly shaped and comply with the rules concerning the number of holes that can be performed by the same tooling. For high-tech PCBs, only new tools are used. For standard PCBs, the drills are sharpened up to 3 times before being renewed.
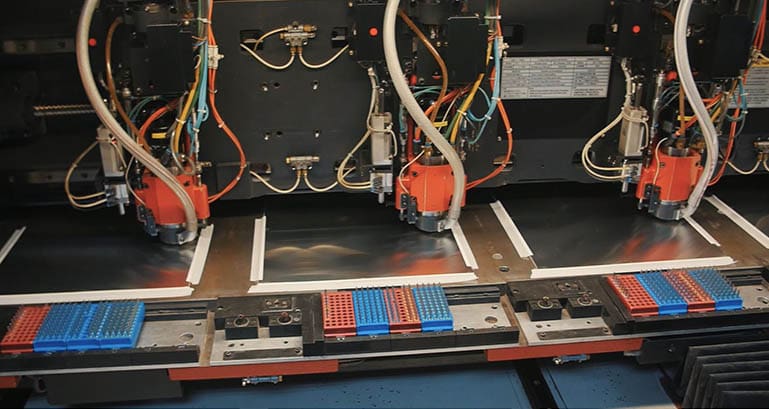
Depending on the series, the drilling machine manages one panel at a time for high-tech products. But it is also possible to install up to 4 panels at the same time, also depending on the thickness, with 1 to 6 drilling heads. During the 1990s, we used to drill a minimum diameter of 400 micrometers. Today, we can drill a minimum of 150 micrometers.
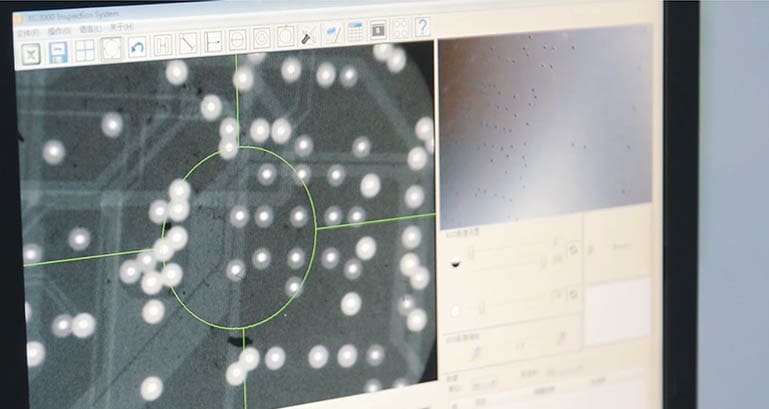
To help with visual control, on the edge of each board, all holes of different sizes are drilled and inspected after the drilling stage. The panels are also automatically checked with a hole verification machine. For the internal control, the boards go through the X-Ray machine, which checks the entire positioning in relation to the inner layer.
The laser drilling machine can generate vias holes between 50 and 150 micrometers. Current toolings are based on two main types of laser: UV or CO2 laser, and sometimes both depending on the process. Here, there is no top or bottom material, so we can only drill one panel at a time and the laser stops when it hits the copper on the N-1 layer. There are two main controls to ensure that the drill holes meet the requested dimensions and to check the cleanliness.
To ensure compliance with European data protection regulations, please verify you are in Europe.